
Happy Hump Day, Everyone 😀😀😀 How's your week going?
I've been a busy beaver for sure!

Did you know it's national dog week? Apparently, it's celebrated the last week of September. I told Mr. B he couldn't be stinky during dog week so he let me give him a bath.

My handsome boy and smells good too!
GARDENING
Despite it being Autumn, my flowers are still blooming. I'll be enjoying these right up until frost.
Every week, I spend a little time each week "training" the Laguna Climbing Roses on the chain link fence. This is just a fancy way of saying I zip tie the vines where I want them to grow on the fence. As they grow, I snip some of the zip ties off.
This is year two and the vines have grown tremendously.


This is what they looked like last summer:

I bought a Hibiscus plant on clearance a few weeks back. I'd planned on putting it in one of my floral beds, but I've learned this one is a tropical plant and will not survive the winter weather here.

So, I'll just enjoy the pretty pink blooms this year.
I learned last year that if I trim off the withering blooms of my Double Knockout Rose bush, it will grow faster and produce more blooms. Last year and this year has seen the most growth than in the past 13 years. 😍 Have any of you readers had the same experience?

My strawberry plants got a late start (i.e. I didn't get around to planting them until late). They are just starting to bloom and form fruits. I'm not really sure if they will ripen before frost. I plan on putting in a couple of raised beds next year and put them in there.
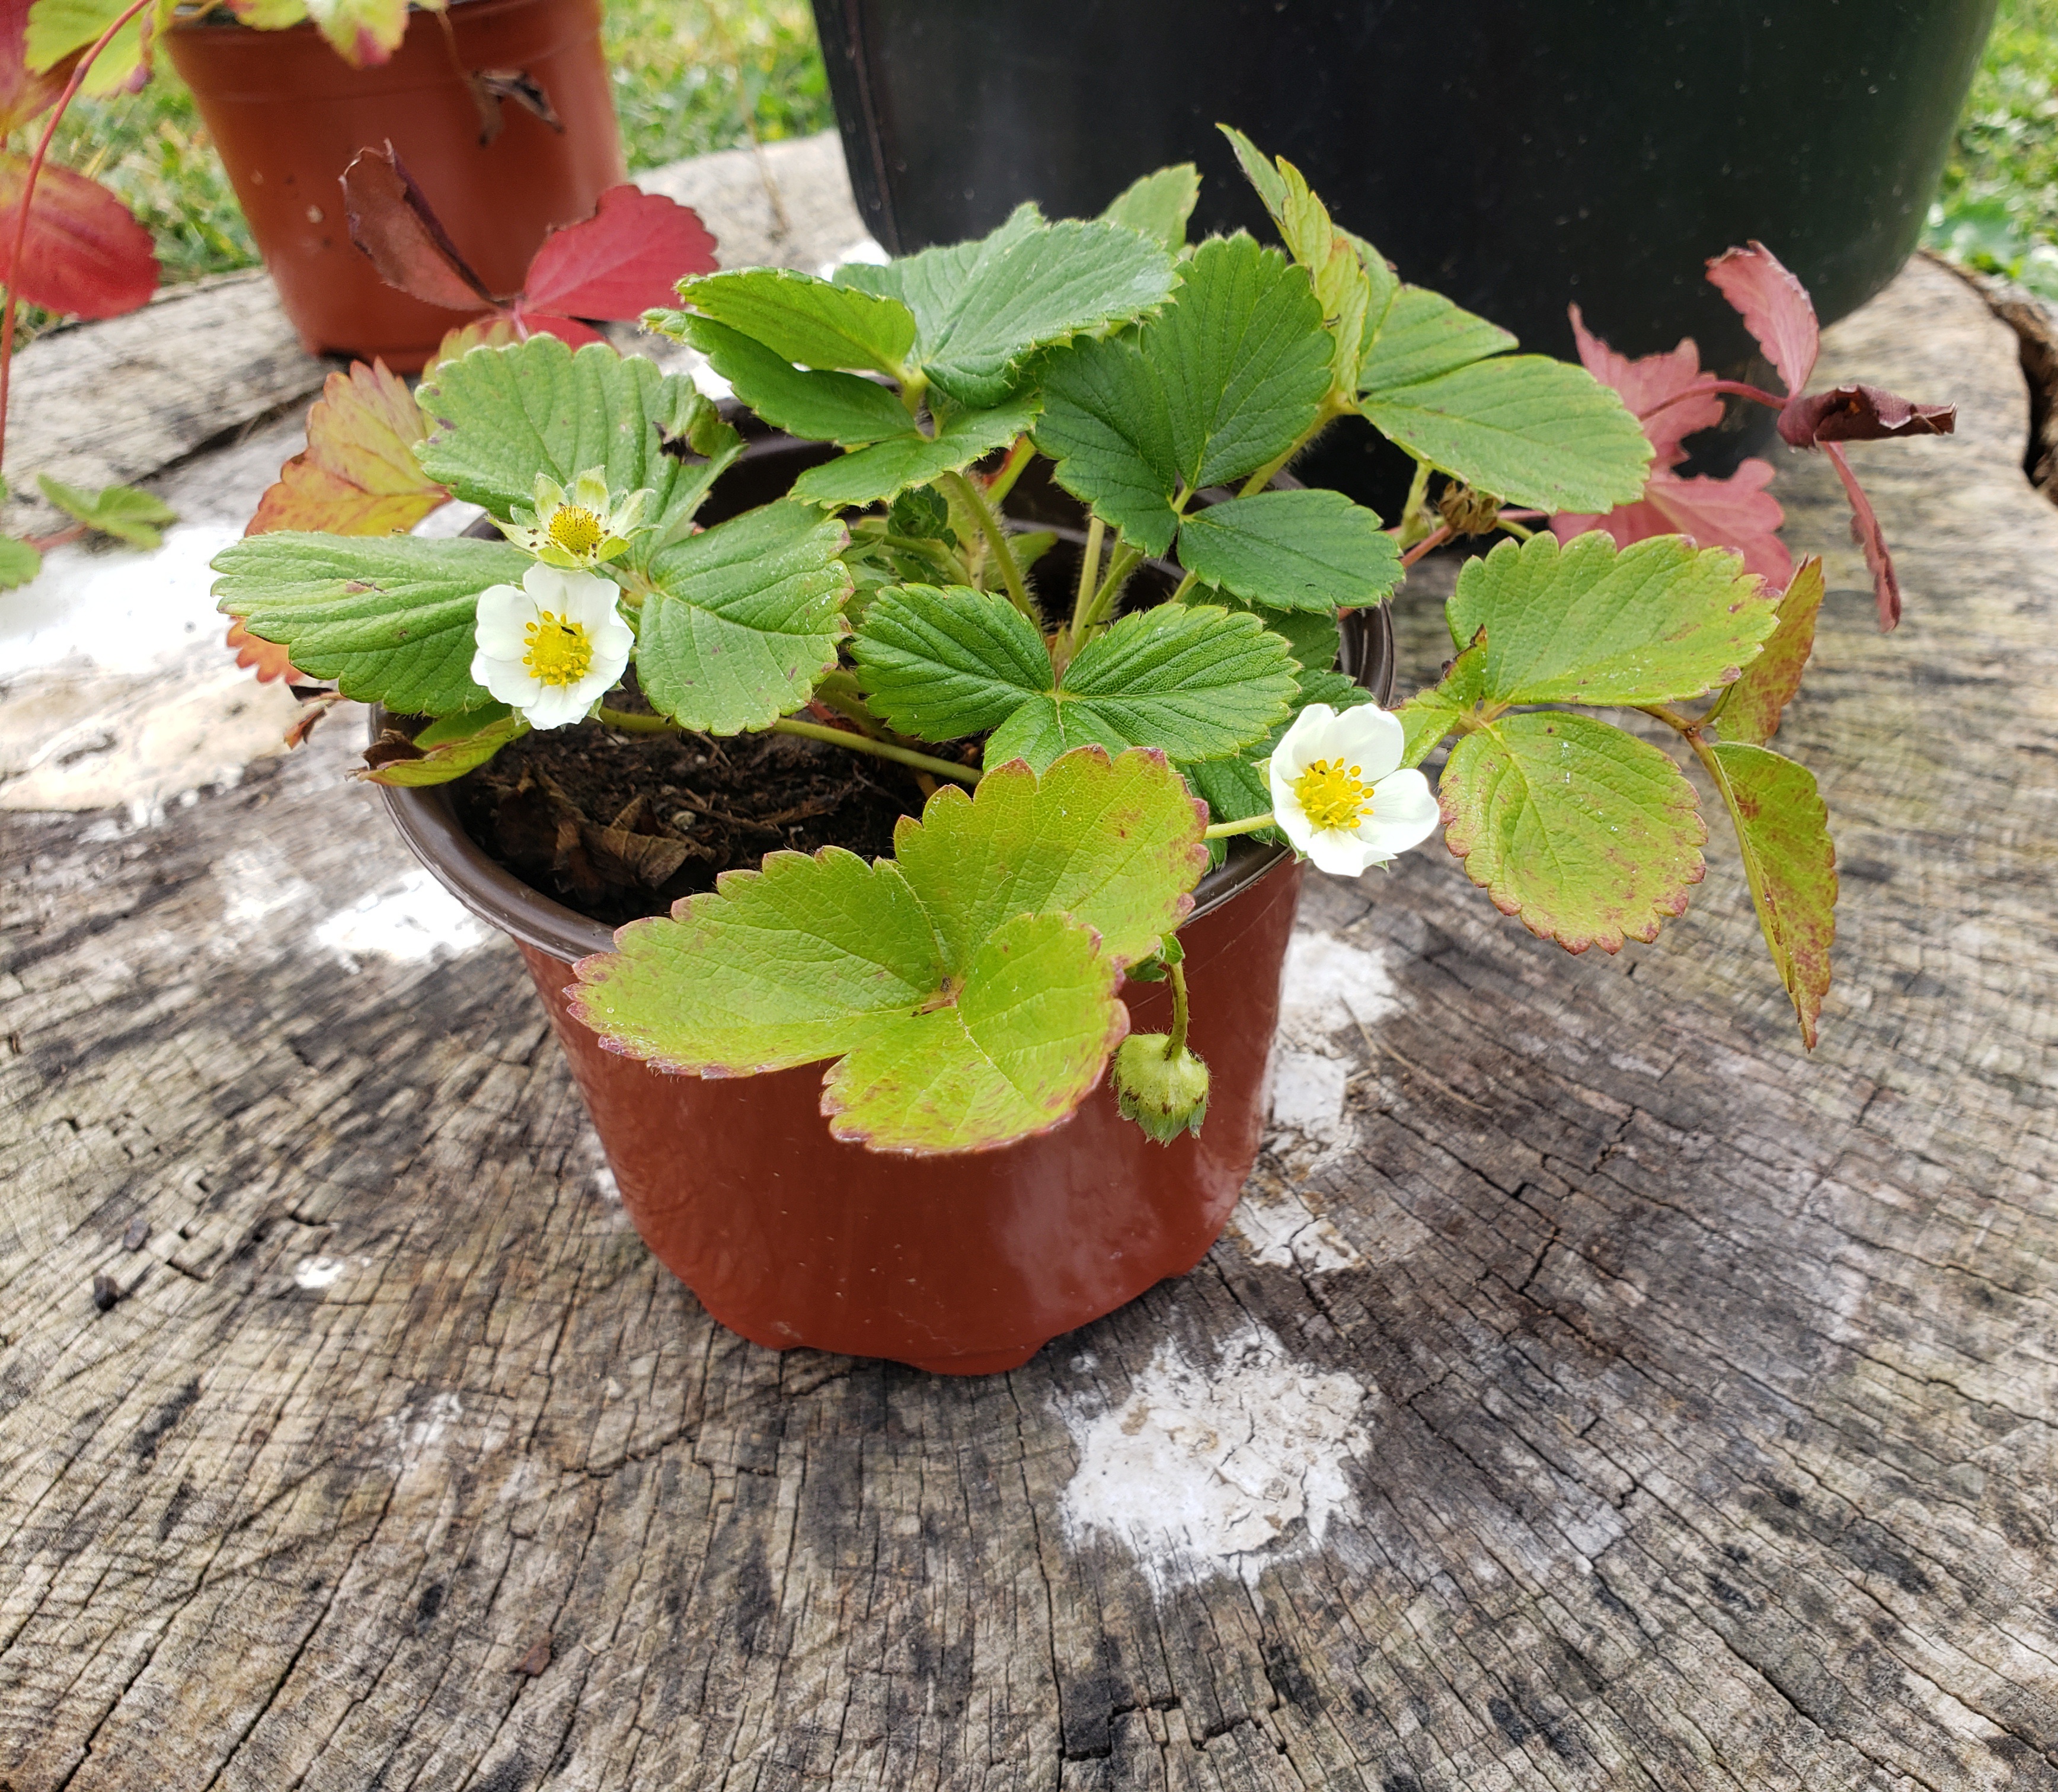
This is my first time growing strawberries like this. Will they survive the winter in pots if I place them in the non-heated garage?
The mums I mentioned in a previous post ::finally:: are starting to bloom. I see little peeks of color!

My coworker brought me two big potted mums left over from her wedding a couple weeks ago. I'll have to find a spot for them before winter rears its ugly head.
HOME IMPROVEMENT
I have to special order window well covers for my basement wells as they're 42" wide. A few weeks ago I did all the other windows except this one by the gas meter. I miscalculated how many I'd need. So, I had to order one more. Thankfully, there was free shipping. Gotta love that, right?!
These covers never seem to last longer than a year or two. This one was in sad, sad shape. They literally disintegrate over time.

This one is always such a pain because the edge of the window well is very close to the gas pipe and I have to cut the cover to fit around the pipe. Previously, I used heavy scissors to cut a notch. I usually ended up cracking the window well cover. This year I had a brainstorm idea. 💡 I used a wood burning tool to cut the plastic. It worked pretty good. Don't accidentally touch your leg. Ask me how I know!

Much better, don'tcha think?
Another project I'm working
on: Great Stuff in the gaps and cracks along the sill of the garage walls. Last year, I did the south and west walls before the cold weather set in. This year, I started on the north wall. I was a bit over-exuberant in my spray technique.
on: Great Stuff in the gaps and cracks along the sill of the garage walls. Last year, I did the south and west walls before the cold weather set in. This year, I started on the north wall. I was a bit over-exuberant in my spray technique.

I read that I could use a serrated knife to cut away the excess. Off to Dollar Tree I went to get serrated knives. Pack of two $1.25. Can't beat the price for what I'm going to use them for.

The results turned out great. Once the Great Stuff debacle was resolved, I caulked along the front sill plate to reduce water seepage.
CASITA CAPERS
After weeks and weeks of de-oxidizing, polishing, and waxing I'm happy to report that the exterior of the Casita is done. Thank goodness! I've received a variety of comments saying, "I drove by your house and it looks so shiny from the street!" to "It looks good. You won't have to do that again for 3-4 years." I hope not!
I did a couple of other simple repairs. When I bought the Casita back in May, the cable TV port was missing the cap.

It was pretty dirty, so I cleaned it up before installing the new cap. If you look close, you can see my reflection in the lower part of the photo (so shiny!).

I installed the Anderson ball hitch on Ruby, my Highlander. It weighs a little less than 60lbs. Why you ask? I'm going camping this week! My last trip before I winterize and put the Casita away.

The weather is supposed to be in the 70's during the day and 50's at night. Perfect camping weather.
YUM-YUMS
I've been cooking up some low carb things that have actually turned out really tasty.
First up, is low carb pizza. For a 7" personal pizza, it ended up being 342 calories with 9 net carbs. It was delicious!

If you're interested in the recipe, leave a comment below and I'll post it in a future blog post.
Next up, I made egg bites two different times. The first time, was just eggs and veggies. The second time: eggs, veggies, bacon, cottage cheese, and shredded cheeses.

While the veggie only ones were good, I ::really:: liked the ones with cottage cheese in them. They were so creamy delicious.
Not low carb, but I made a small apple cake to take camping. The recipe called for walnuts. I didn't have any so I topped it with a few chocolate chips.

STITCHY STUFF
I'm plugging away at the Halloween Mailart. I'm hoping to complete the stitching while I'm camping this weekend. I just have the back to do. Can't show the whole thing, but here's a sneak peek:

QUILTY BITS AND PIECES
I found a not-so-local quilt shop that's doing an in person block of the month program. We met for the first time last night and were given our first month's fabric. The quilt is called Violet Crush and the shop sample is SO gorgeous.

I plan on cutting the fabric while I'm camping so I can start sewing next week. There are five blocks that need to be done in the next month.
This will be my first in-person BOM participation. It's going to be fun... each month when we bring our blocks in, our name goes into a drawing. If we bring a show-n-tell piece (doesn't have to be quilt related), we get our name put in again. At the end of the 9 months, the shop does the drawing. Fun-Fun-Fun!
To end off this post, I'll leave you with a photo of my Autumn office decor. I don't know how long this will stay out since I have Halloween decorations to put out. I really need to make an Autumn-themed table runner for the top of my cabinet. Currently, I have two: Patriotic and Winter.

Until Next Time,


